Winterize Instructions
Things you need.- Rv Antifreeze(Non-Toxic)
- Water heater by-pass kit
- Some sort of wand to clean the holding tanks
- Water pump converter kit
- Tools(Basic tools will do)
What is RV Antifreeze?
Rv antifreeze is a solution of glycol and water that is added to rv coolant systems in order to protect the engine from freezing during cold temperatures. Rv antifreeze can also be used in the sink and shower pipes to keep them from freezing in cold temperatures.
You should first read your owner's manual that is specific to your RV.If you do not know what an rv is, visit my other post at What does RV stand for to get full information on everything that has to do with RVs.
Follow the steps below to winterize your RV or camper.
- Disconnect the outside water source.
- Next you need to drain the water that is left in your system. If you read your owner's manual, you should know where your low-point drains are located. There should be one for the hot water lines, one for the cold water lines, and one for the freshwater tank. You will need to open the petcocks to drain as much water as possible from your pipes. Turn on all the faucets.
- There should be a drain on the outside of your water heater. Get out all the water from your RV through this drain.
- Bypass your water heater before you start adding anything to your RV. One thing you don't want happening is having any remnants of anti-freeze getting into your water heater. Some RVs carry their bypass that has already been installed. If your RV doesn’t come with one installed then you DIY or have a professional install one for you.
- Install some sort of water pump diverter kit or disconnect the inlet side of your water pump and just sit it inside a large bucket or where you have anti-freeze.
- The next step is to add anti-freeze. This will ensure that your water lines don't get frozen while the RV is out in the winter cold.
- At this point, you need to turn off all the faucets and drains that were turned on earlier then turn your water pump.
- Turn the water pump on to ensure the system is pressurized.
- Turn the faucets on slowly on hot till you start seeing antifreeze.
- Repeat the process for all faucets from the closest one to the farthest one. Do not forget the shower on the outside, if you have one.
- Flush the toilet until you see antifreeze.
- Turn the water pump off then open a faucet in order to release pressure in the system.
- Pour a few cups of antifreeze down each drain. Also, pour a few cups down the toilet and flush it into the holding tanks.
- Turn off all faucets.
- You have completely winterized your rv.
Winterize Your RV Water System by using Compressed Air: Ultimate Guide.
What you'll need.- Blow out plug.
- RV antifreeze.
- Air compressor with adjustable pressure regulator
- Drain and flush the black and grey water tanks
- Drain the water pump
- Drain the fresh water system
- Remove any inline water filters
- Drain the water heater. If you have a bypass valve, turn it on.
- Use your using a blow out plug to connect your air source into the city water inlet.
- Turn on the air compressor: Use a maximum of 30PSI to 40PSI. I wouldn't go past 30PSI.
- Starting with the fixtures closest to your air source, Open each faucet and fixture and work your way out.
- Turn off the compressor
- Pour a small amount of antifreeze into each fixture (Toilets, shower drain, sink drain).
- Remove all low point drain plugs and hot water heater drain plug
Subscribe
Stay updated with our newsletter
How to Blow Out RV Water Lines with Air For Winterization
Exterior and simple winterizing guide
The complete guide to winterizing your RV is what my neighbors always ask me to write about. We all hate it when it comes time to winterize our RV. But it is always a skill needed when you own an RV that undergo bad winter conditions. None of us want to have a bad start to the camping season because we weren't prepared for winter blizzards.
- First get rid of the water
- Do not to use regular anti-freeze
- Get the exterior ready
- Non-toxic antifreeze
- Water heater by-pass kit
- A wand to clean out your holding tanks
- Silicone spray
- A water pump converter kit
- Sealer to fix cracks
- Bug screens
- RV or trailer storage cover
- Mothballs, mousetraps
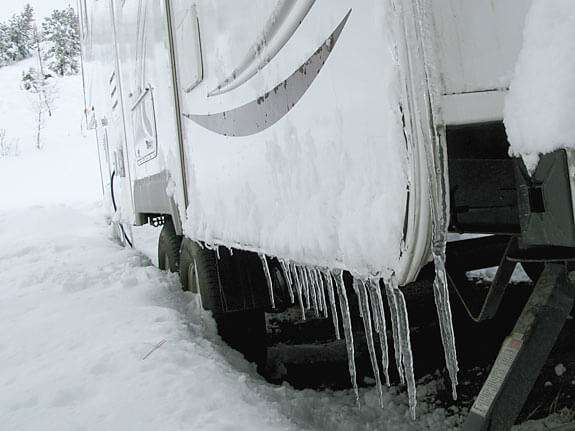
First of all you need to have a plan set up to just get straight to it when the time comes. When it's wintertime, you do not want any water to be left in the pipes. Leaving even the smallest amount of water in your pipes will cause said pipes to burst after they reach freezing temperatures. This in turn causes thousands of dollars in repair that could have been avoided. Water doesn't contract like some other liquids, instead, it expands. This means it will put a strain on the pipes until they burst. So make sure there is no water left in the pipes when your camper is set up for winter.
Back in the day, it was the norm to mix the non-toxic type of anti-freeze with the water in the winter. Anti-freeze has a much lower freezing point than water. Many people used that method to not having to do the whole draining procedure.
when the camping season comes around again, they would get rid of the anti-freeze and be good to go again. But there is a downside to doing this, not 100 percent of the anti-freeze will be drained, leaving anti-freeze residue in your pipes. Only the non-toxic version of the anti-freeze is used but this does not mean it is good for you. There is a way to avoid having your pipes burst, which is to drain the whole pipes or leave just a small amount of water which is not enough to expand and burst.
One of the best things you can do is to have a service station check the roof, sidewalls, seams, windows of your RV. The objective is to reseal or re-caulk any holes or cracks which will stop any water from getting in where you don't want it to. Nobody wants to be hit with a high repair cost when springtime comes around.
I would advise in getting the RV manufacturer to suggest the brand and type of sealant to use in case your RV needs it.
How to store your Rvs

Doing everything necessary on the interior of your camper/RV will never be close to being enough to get the exterior ready. The best option is to invest in a cover that was specifically made for your make and model. This cover will be responsible for protecting your camper against wind damage, bird poop, and tree sap. It will also be very protective against extended exposure of ultraviolet rays.
Protect your tires
This might seem like a no-brainer, but many people forget to take the protection of camper tires during the winter season. Tire protection is just as important as any other precautions you will take for the upcoming winter. One of the best things you can do to protect your tires is to get tire covers.
Keeping your tire in top shape is essential whether you're driving a camper or any other type of motor vehicle. Once it's time to store your camper away, ensure that the right amount of air is in all tires by looking at the side of the tires. Use a tire pressure gauge to check. Once that has been done then it's time to place all your tire covers over the tires. This will protect your tires from the harsh winter season and also ultraviolet rays.
Before taking your RV out for the spring or summer season, be sure to check the tire pressure of all tires and put the necessary amount of air that might be missing. Tires lose pressure over time so it is always wise to check before using them again.
Thermal Curtains
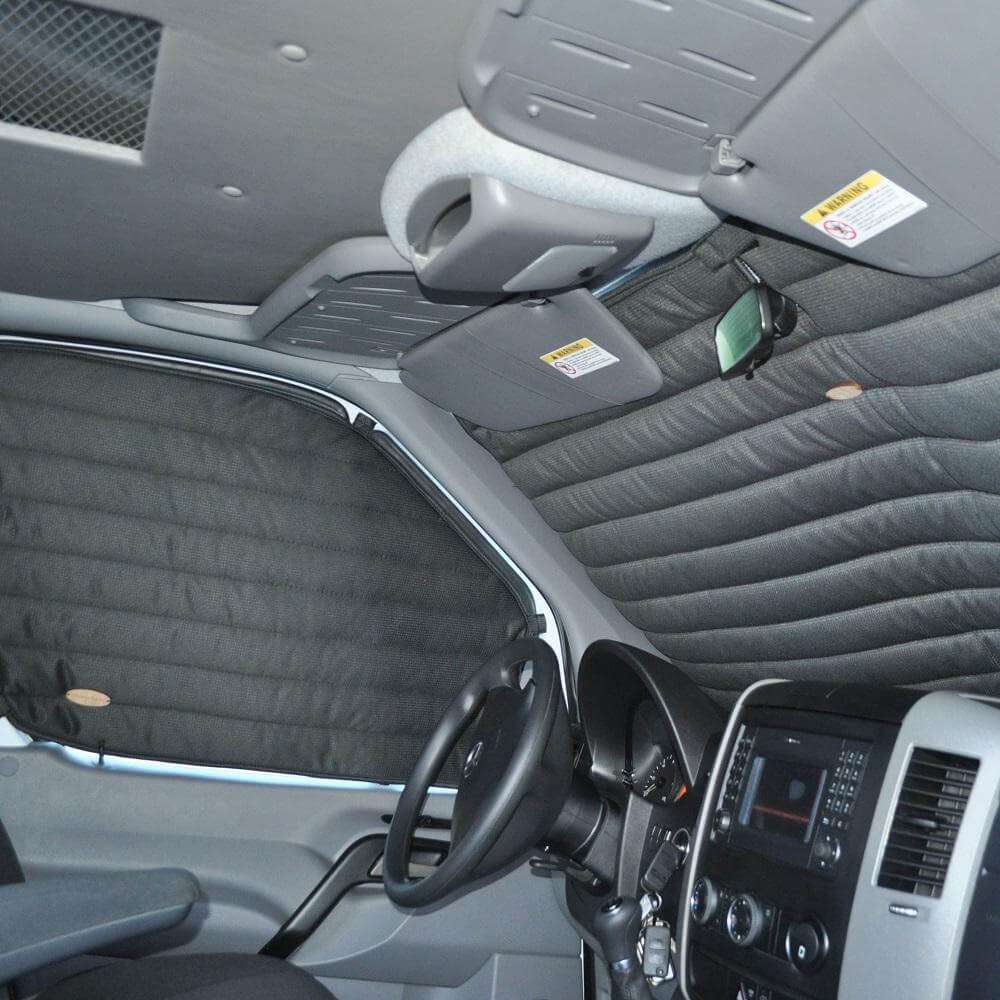
One good option for a rv or a camper van is to purchase and install thermal curtains. these help to keep the temperature in the rv or camper at a nice and warm temperature which in turn helps to stop freezing temperatures from being trapped inside.
Close your vents
We all sometimes take the simplest things for granted, we might overlook the simplest things that can cost us so mch money down the line. This is why we need to make sure the little things are taken care of so we don't run into these types of problems.
Protect your exhaust
One pesky thing that will happen to your camper/RV is if you leave your exhaust pipes open, rodents might take up residents. So I have found out that most RV/camper tips are three inches in diameter so I have used PVC caps to cover them once winter roll in. this will ensure that said rodents will be choosing somewhere else to make their home. Nobody wants to get ready for a trip only to find that the exhaust is plugged and needs repair. Pvc caps can be found at any hardware store or online and they are super cheap. They cost between $.080 to $3 and it does not matter which one you choose as long as it covers the exhaust tips perfectly.
Get a furnace mesh
Another easy but important thing to overlook is the furnace. This is not really a winterizing chore, but if you have not done this as yet then do it before the winter roles in will be well it. Once you have this in place, you will prevent wasps, birds, and other pests from taking residents in your RV furnace. If this is not taken care of then there is no telling what will happen while your camper/RV is sitting during the winter.
Winterizing your rv battery
One thing nobody wants after storing their RV over the winter season is to come back to a dead battery. The first thing you need to do to care for your battery over the winter season is to take the battery out of your recreational vehicle. This is because there is a good chance the battery will freeze. When storing the battery out of the RV, you can still run the risk of having it frozen during the winter season if not stored properly.
The best type of surface to store your battery is on a piece of plywood and in a room with mild temperature. The temperature should not be too hot to heat the battery up or too cold to freeze it. Do not leave your battery directly on the floor. One good thing to practice is to trickle-charge the battery when it gets to around 75%. You can set a schedule to give it a charge on a schedule so that you do not forget.
List of Items You’ll Need To Winterize Your RV
Rvs make money too - Rent Yours
One way to get some extra income into the house is to rent out. You can do this easily by listing it on apps like Turo. This is an app where you can list any type of vehicle, including RVs, for rental. You get to set your daily price and the mileage you'll allow. You also get to set the price of extra charge if the renter goes over the allotted mileage allowed. Another way to list Rvs for rent is on another website called OUTDOORSY.